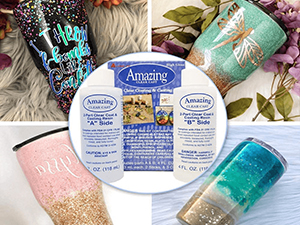

You must have seen them all over Pinterest and Etsy-DIY glitter tumblers.
From the increasing orders of wholesale blank tumblers and keyword analysis of Google Analysi—DIY TUMBLER IS ON THE RISE.
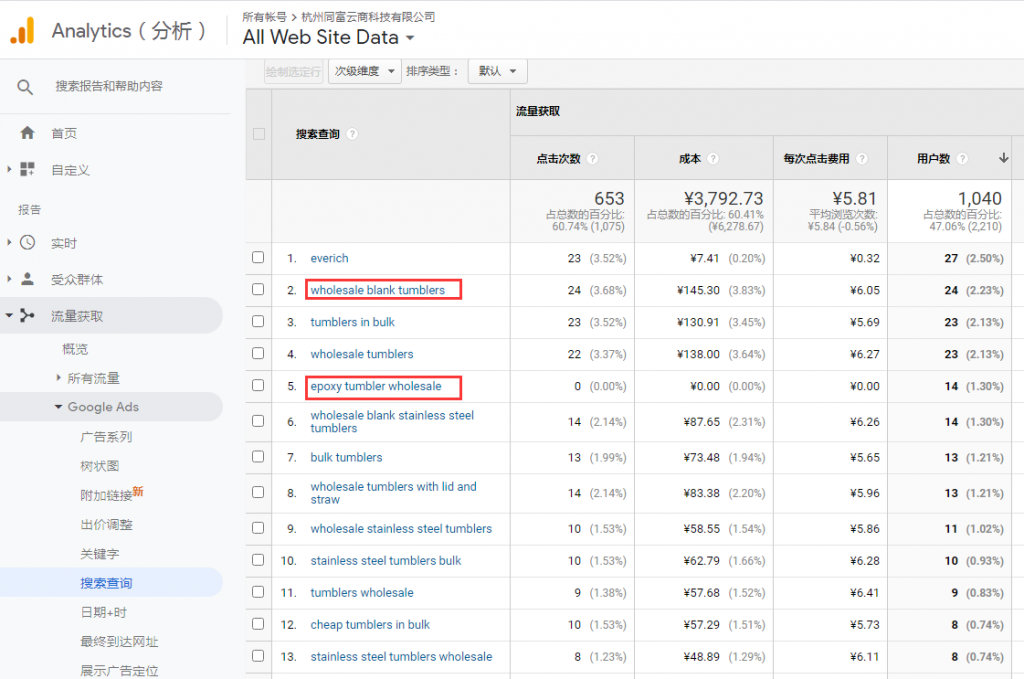
Refrence: Google Analytics
Why not creative and modify your wholesale blank tumblers using Epoxy Resin? In this way, by using your imagination, you will be able to craft ordinary Tumblers into Epoxy Tumblers with different colors patterns or a sparkling finish. In this article, we will give you the know-how, as well as advising you of the best Epoxy Resin to use for Tumblers.
1.Let me tell you a little bit about epoxy resins
The best results for the epoxy to cure when it is kept in the temperature range between 72 degrees and 78 degrees. Temperatures near the upper limit are preferred for curing. It can also withstand temperatures of 120 degrees.
There are two kinds of Epoxy Resin commonly used in our daily life.
- Envirotex Lite Epoxy Resin is known for its glossy finish. It is thick and cured in about 8 hours in the temperature of 70°F after it is poured in. It is best to leave it for 48 hours to set for the best results.
Many epoxy tumbler artists have acknowledged the ease with which one can work with this resin and also that it has minimal odor as opposed to other brands. The Envirotex’s USA Safety confirms so by saying that the odor is not distinct.
- Art Resin has a high-gloss and clear coat finish, which creates a beautiful and long-lasting effect. Art Resin is specially designed for use on creative projects and is easy to use leaving a transparent even finish. Art Resin is specially designed to enrich your product and also to protect it from yellowing, just remember that all epoxies will eventually yellow over time.
The FDA Compliance must be read before an artist starts using it for making their epoxy for wholesale blank tumblers as it has been mentioned on the packaging of the product and confirms that the coatings can be used for indirect and direct food contact under this compliance when it is correctly measured, properly mixed and completely cured.
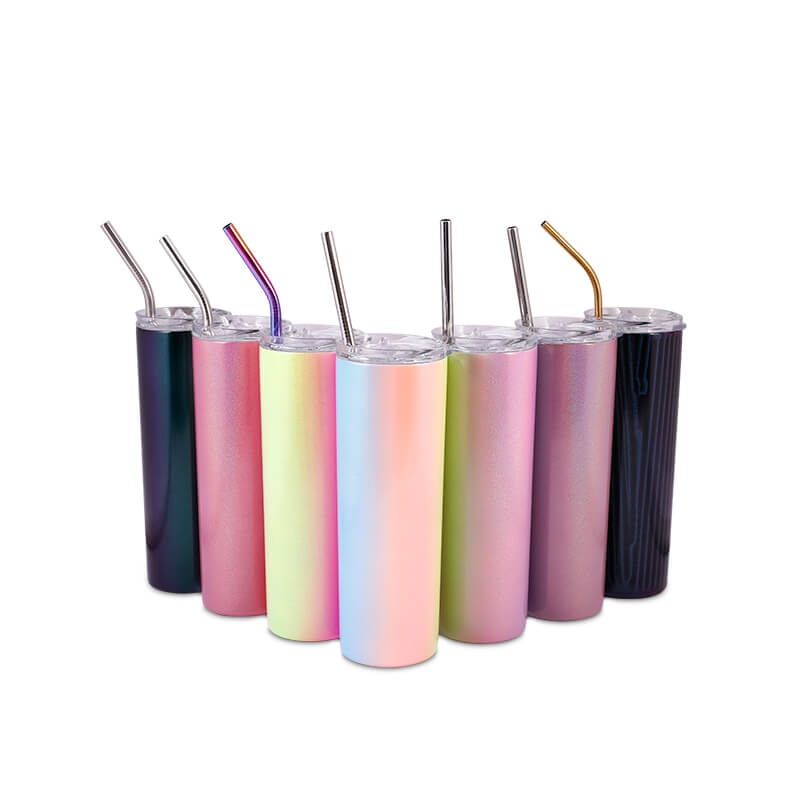
2.Choosing design and suitable TUMBLER
When applying the resin to the wholesale blank tumblers, there can be no better choice than stainless steel. It does not even require you to coat it with spray paint though it becomes your choice completely according to your color palette.
Plastic:
Plastics are not a good choice for epoxy cups or wholesale blank tumblers. Epoxy resin can peel off with time as it does not adhere to it. In case you still wish to go for it, or your wholesale blank tumblers has some amount of plastic attached to it, then it would be good to use some plastic-compatible spray paint to help the resin stay.
Glass and Ceramic:
This combination or the individual material can only be used if the purpose of making this wholesale blank tumblers does not contain the word ‘hot’ in it. Glass and ceramic are quick to absorb heat and can lead the resin to soften. There are still some options that can be considered open like the tumblers with glass interiors with the exterior of stainless steel.
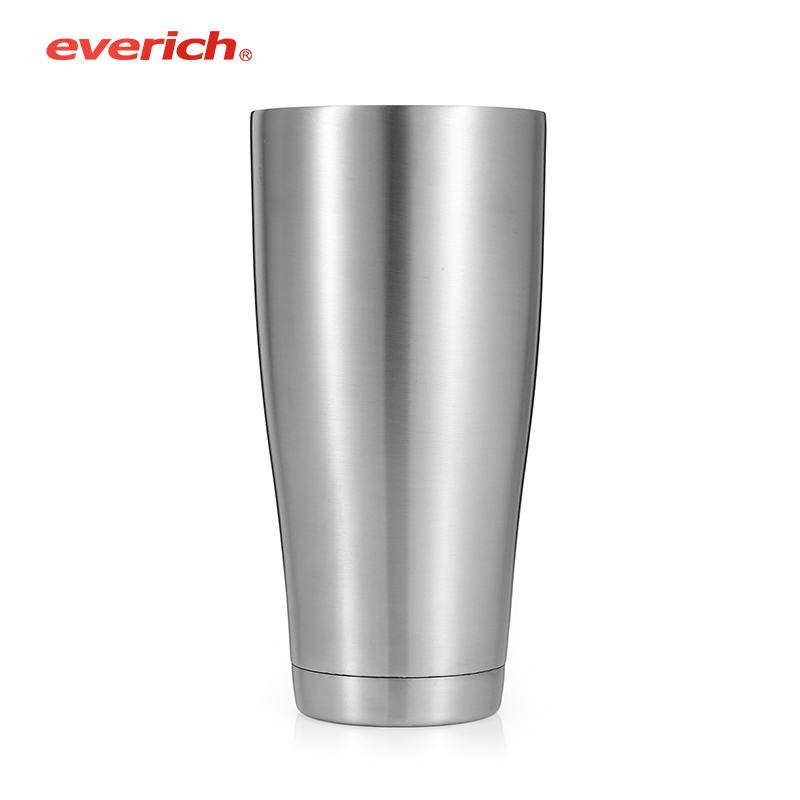
EVERICH HOTSALE WHOLESALE BLANK TUMBLER

3.How to make an Epoxy Tumbler on your own
This glitter tumbler tutorial is pretty long so stay with me! I’m definitely not an expert but I learned a bunch from watching youtube videos and figured some stuff out on my own.
Here’s how to make a glitter tumbler at home.
Step 1 | Gather Materials ![]()
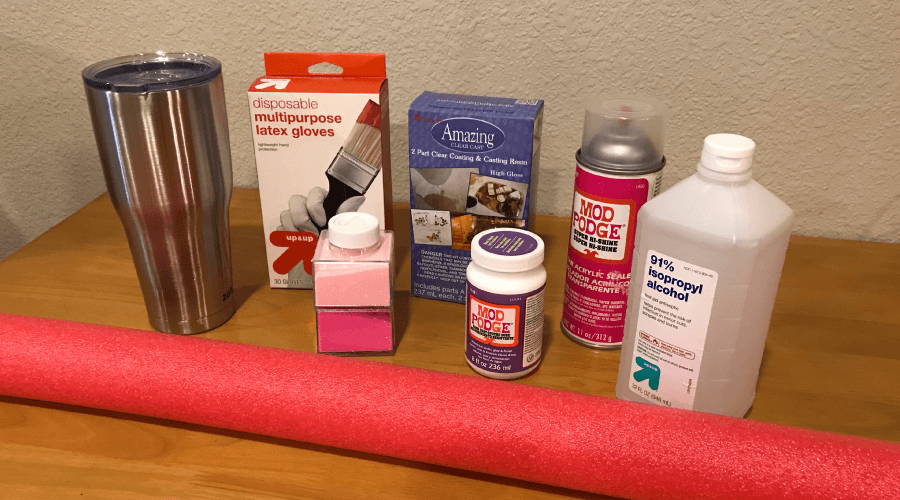
- Stainless steel tumblerRubbing alcohol
- Paper towels
- Gloves
- Adhesive (We used Mod Podge Hard Coat)
- Foam brush
- Bristle brush
- Sealer (optional)
- Fine glitter
- Epoxy resin (FDA approved for contact with food)
- Plastic cups
- Popsicle sticks
- Pool noodle
- PVC pipe
- Cardboard box
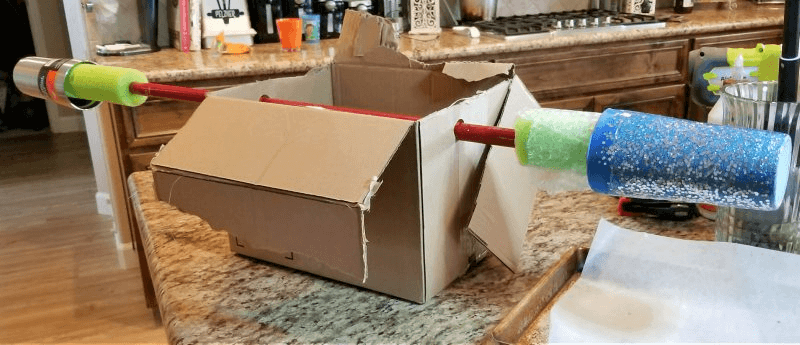
Step 2 | Construct DIY Tumbler Turner
Cut holes in both ends of your cardboard box and slide the PVC pipe through. This is what you will use to turn the tumbler as you apply the epoxy resin.
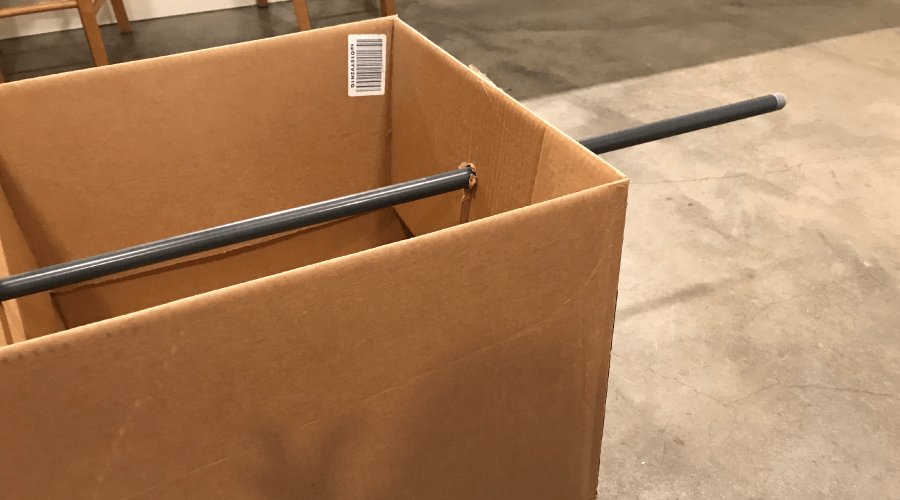
The pool noodle will hold the tumbler and will go on the outside end of the pipe. There are something similar online somewhere and modified to use . You can started by punching two round holes in the sides of a box with a stamping punch. Then wrapped paper towels or bubble wrap around the foam until the glitter tumbler was secure. Some people use small foam footballs from the Dollar Store and cut a hole in them and attach them to the ends.
Step 3 | Prep the Tumbler
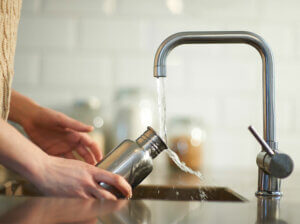
Wipe down the tumbler with rubbing alcohol. This will remove excess oils and sticker residue. Let dry before moving on.
Step 4 | Apply Adhesive
Wipe down the tumbler with rubbing alcohol. This will remove excess oils and sticker residue. Let dry before moving on.
Apply your adhesive in a thin, even layer using the foam brush.
Step 5 | Apply Glitter
Immediately after you apply the adhesive on the entire cup, begin adding the glitter. Sprinkle in an even layer, ensuring there are no bald spots. Set aside and let dry for 30 minutes.
Tap the bottom a bit to get the extra glitter off, remove the painter’s tape, and then stand it up to dry (I had mine upside down since the bottom had glitter on it.
Once it’s dry, usually after a few hours, you can tap it again to see if anymore glitter comes off. Then take a clean dry flat brush and stroke it down all the glitter to get off any pieces that are not glued down
Step 6 | Remove Excess Glitter
After the glitter layer has dried, use a bristle brush to gently brush off excess glitter. This will ensure an even application for your second layer.
Step 7 | Apply 2nd Layer of Glitter
Brush the adhesive over the first layer of glitter in a thin, even layer. Coat in glitter and set aside for 30 minutes. Brush off excess. Repeat these steps until your desired level of glitter is achieved (We did 3 coats of glitter total).
Let the final layer of glitter dry for 2-3 hours.
Step 8 | Apply a Coat of Resin
Begin by mixing your epoxy resin, following the box’s instructions.
Note: The epoxy resin must be FDA approved for contact with food.
Once resin has been applied to the entire cup in a thin, even layer, continue to turn the cup using the PVC pipe for 20-30 minutes. This will prevent drips.
Tip: If drips form, use a sanding block to smooth them out.
Let the tumbler completely dry for 48 hours before using.
Don’t forget to put on sticker make your tumbler more fabulous!